Overview of the workflow
This workflow seems to work for our team members who don't need to become experts at GitHub. Seeing as most people at this point understand how to use Google Docs it helps bring contributors in easily. You could use other document editing software, such as word, we found this worked best for us, after reading through how we do it, you might have something better for your team.
There are basically two sections to the workflow, the contributor (steps 1-2) and the publisher (steps 3-5), the overall workflow goes like this:
- Google Doc (start with template linked below)
- Export as a .docx
- Import into markdown converter (markdown is the language git uses)
- Copy/paste into GitHub
- Publish!
Google doc template
Start by downloading our google doc template here.
If you would like to look at a filled out example (of this page!), you can see it here.
There really are two sections to this document, first is the Front Matter, second is the content.
Let's look at these two sections in depth.
Front Matter

The Front Matter is sort of the info section for what you are writing up. There are 3 sections that your contributors will need to fill out, if you are the one importing you will need to check some of this as there is other Front Matter that needs to be in place for your page to work correctly, but for the case of the template it is noise to your contributors so we chose to leave it out, otherwise we would have to answer the same questions each time someone is using it.
Title:
This is pretty straight forward, this is the title for the page. It is what is going to be displayed on your navigation pages, and of course on the page itself. Try to keep it short and simple. Do not use : in your title, it will cause a code error and not render your page.
Tags:
Tags are tools used to help users find the page. They should be some alternative words to your title. For example if you were writing on soda, you would tag it with pop, cola, etc.
All of your tags must be inside of the [brackets] and comma separated.
Summary:
The summary is what shows up at the top of the page, this is the quick version of your page, what you're going to tell them.
The summary is only one paragraph.
Content
The content is obviously the meat of your work, this is where all the information you are conveying will go. There are some specifics on how you format this section and we will cover below.
Sections
If you notice at the top of this page and in the document, there are sections that show up in the table of contents and as well help with organizing the page. This is done through the "styles" control in google docs. It is just to the left of your font and font size, for paragraphs it should look like this, saying "Normal text"

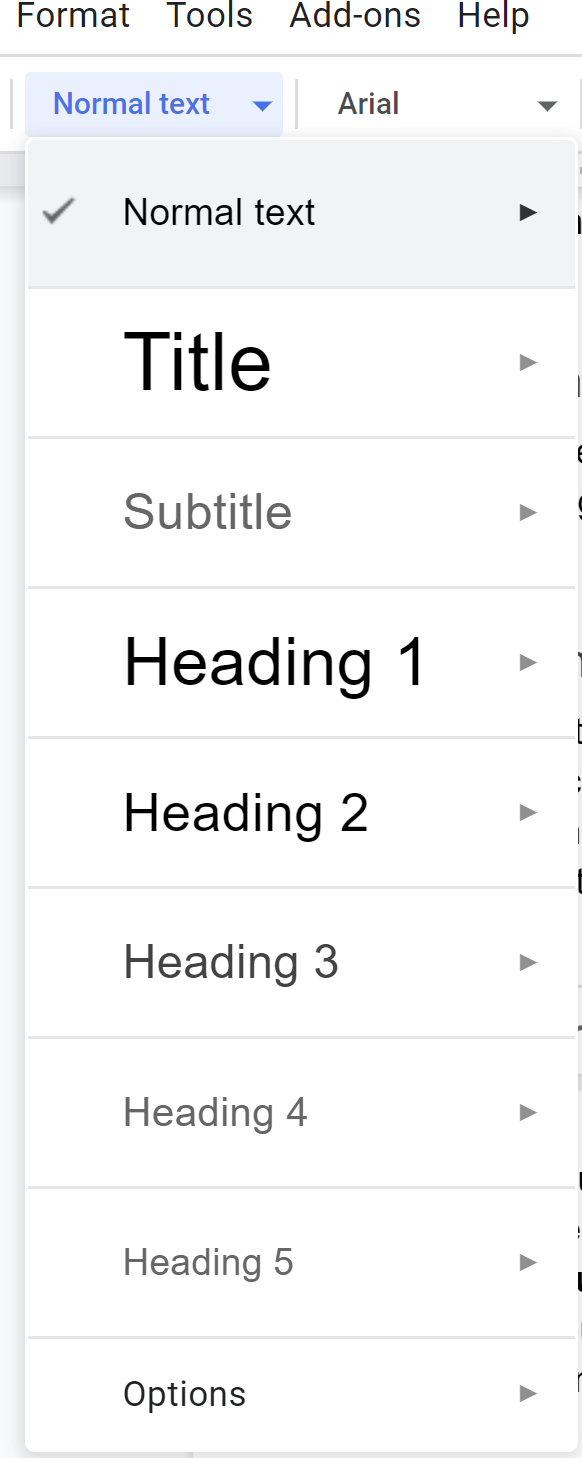
When you click on it, you will see a few different options, we will be using the different Headings. The lower the number correlates to how it displays in the table of contents menu.
You should never use Heading 1, this will cause search errors, the H1 is already inserted from the Front Matter
So for your top level sections you should be using Heading 2, then sub points get Heading 3, and so on.
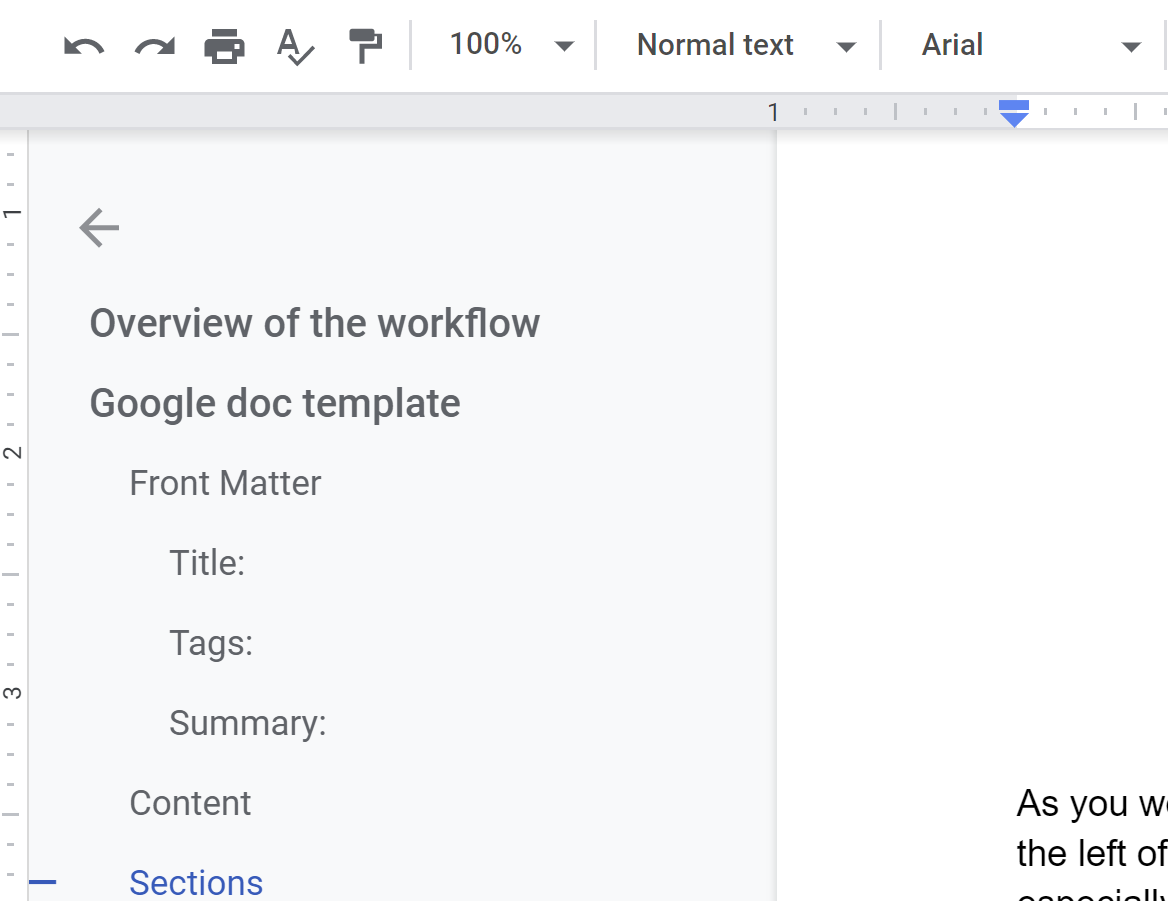
As you work on your document you will see what your table of contents is going to look like to the left of the page in the grey area you will see the Document Outline, this table of contents is especially useful to your users as it helps them go directly to the content they want.
While you are editing you can use bold, italics, lists/bullets, and hyperlinks just as you would in any google doc, they will get translated. Photos are a little more difficult.
Photos
Photos will have to be manually uploaded and inserted into your document on the github end. So you will need to save out your images separately, and give them file names that make sense. Do not use spaces, use underscores or dashes in the file names.
In your writing put a separate line with the file name where you want the picture, wrapped in some code. So for instance if you have a picture named soda-pop-flavors.jpg that you want in a section you would block out

Then the publisher will know what picture to put where, if you got the code above correct, they might not have to do anything other than upload the files. But if you didn't it should stand out to them and they can edit accordingly.
Download as .docx
As amazing as this writeup is, most of your contributors won't want to read this whole thing. So in the template we have put a small section in green on how they use the headings section. If you are a contributor and have read this far, you are pretty awesome. You can erase the little help section in green as you don't want that on your page, and you are totally an expert at this now.
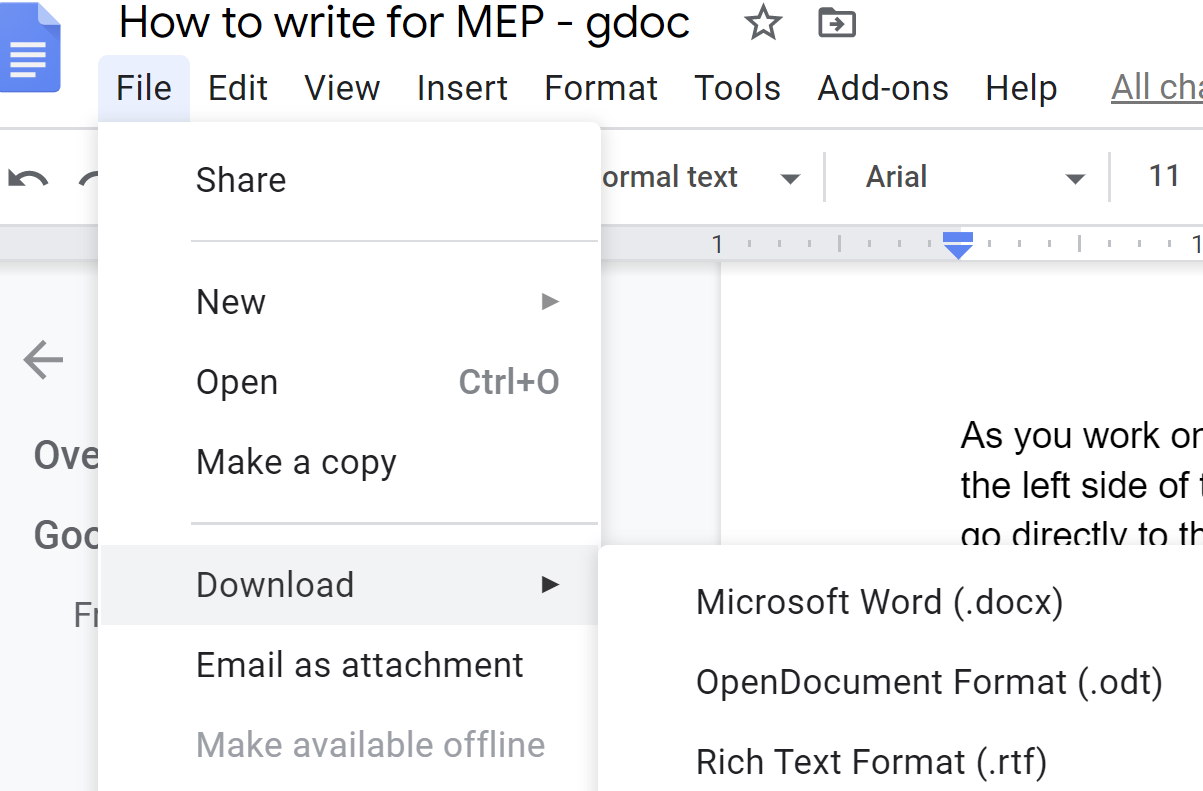
Just as you would think, up at the top bar, click File , then click Download , then Microsoft Word (.docx)
Then save the document to your computer, somewhere you will remember as you will be uploading this to the converter.
File Conversion
If you're just a contributor and not working on the GitHub side, you don't need to read any further.
I mean this writeup is pretty great, so you could keep reading.
So now you have a word document, we have been using a simple online word to markdown converter, https://word2md.com/
There are others with pluses and minuses, this one is simple, so we have been using it.
Upload your word doc to the site and click the big blue Convert button.
You will see the markdown in the middle column and a preview on the right column, highlight it and copy the middle column to your clipboard (Ctrl+C)
Github page
So you probably should have already navigated to your page where the content is going to land, in GitHub. Remember in your repo, it is going to be under the pages folder.
If you are just putting up your own version of a page from our master repo, you can go into the section, then find the page you want to edit.
If you have a new page you will need to create it. It's simple, click new file at the top of the page, give it a simple name and end it with the extension.md copy the Front Matter from an existing file, and edit that such that it matches with your new title
Then you need to add your page to the menu, that is in the /_data/sidebars/home_sidebar.yml file. Follow the existing format to add your new page into its section.
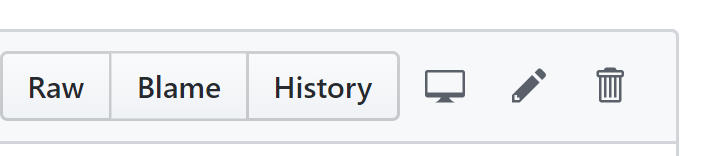
To edit the page click on the little pencil at the top right
You will then see the basic text display in the markdown language.
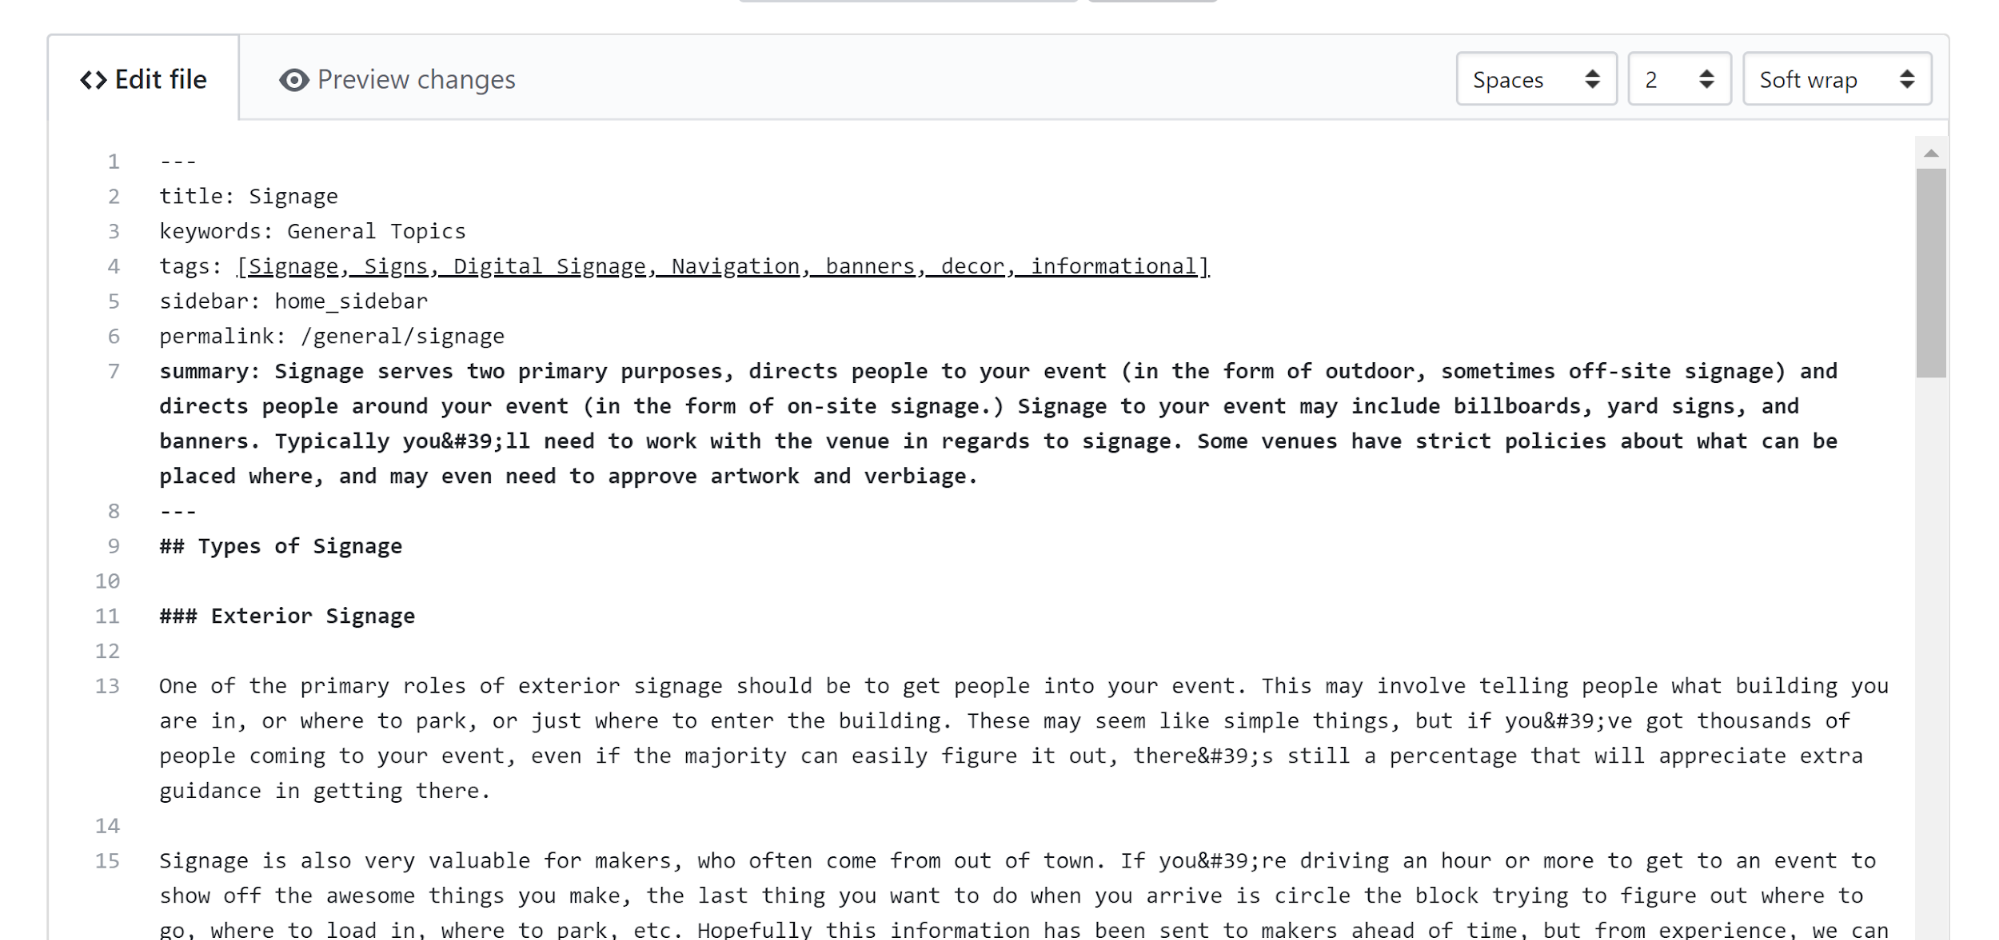
This is where it's up to however you want to copy/paste, as you can see in the Front Matter there are some other sections that aren't in the google doc. Depending on your workflow you might add them into the doc before exporting, or just copy and paste the front matter separate from the content. But when you are done you should have something that looks like the above image.
Publish
At the bottom of the word editor there is a section that says Commit Changes
We like to put a little note as to what was done, i.e. the initial upload, or a spelling correction, it helps if something is wrong you can use the features of Github to track or roll back those changes.
And with that you are done! Rinse and repeat for your different pages.